
I love baking, and I love my pets, so it kind of, sort of makes sense that I might enjoy baking treats for my pets … right?
Sure! But I also love baking things that are pretty straightforward, and I knew that if I was going to attempt to bake something new for the first time, I needed to find a solid recipe that didn’t require much. Enter: these homemade peanut butter dog treats that require only four ingredients.
I enlisted the help of my 11-year-old to make the treats, but our first attempt bombed because I hadn’t realized that cookie cutters are unnecessarily difficult to use.
If, like me, you have assumed that you can simply roll out your dough, cut shapes, and pop your cookies into the oven and they won’t turn into unrecognizable blobs … well, like me, you will discover you are wrong.
After our initial failure, I found out that cooling your dough in the refrigerator for an hour after mixing is the key to keeping your cookies looking nice and tidy. And so I present: these super easy holiday-themed dog treats that all three of my dogs absolutely love!
Like I said, this recipe calls for only four ingredients:
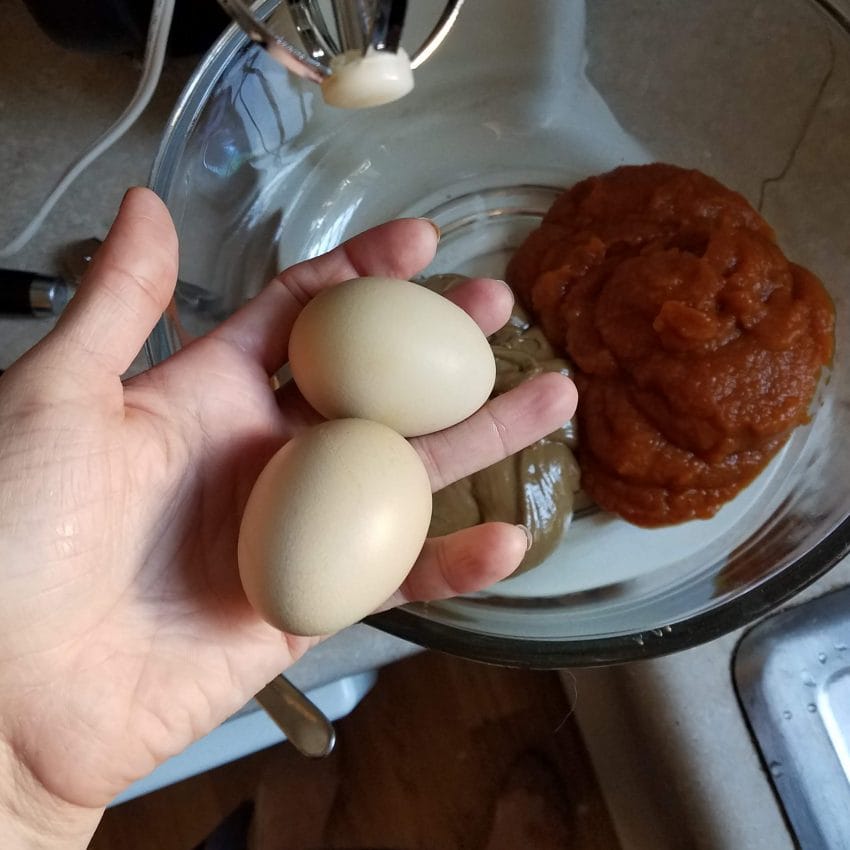
⅔ cup pumpkin puree
¼ cup peanut butter
2 large eggs
2½ to 3 cups flour
We have a peanut allergy in our home, so I substituted sunflower butter. It worked just fine! I also doubled the amounts of pumpkin and sunflower butter.
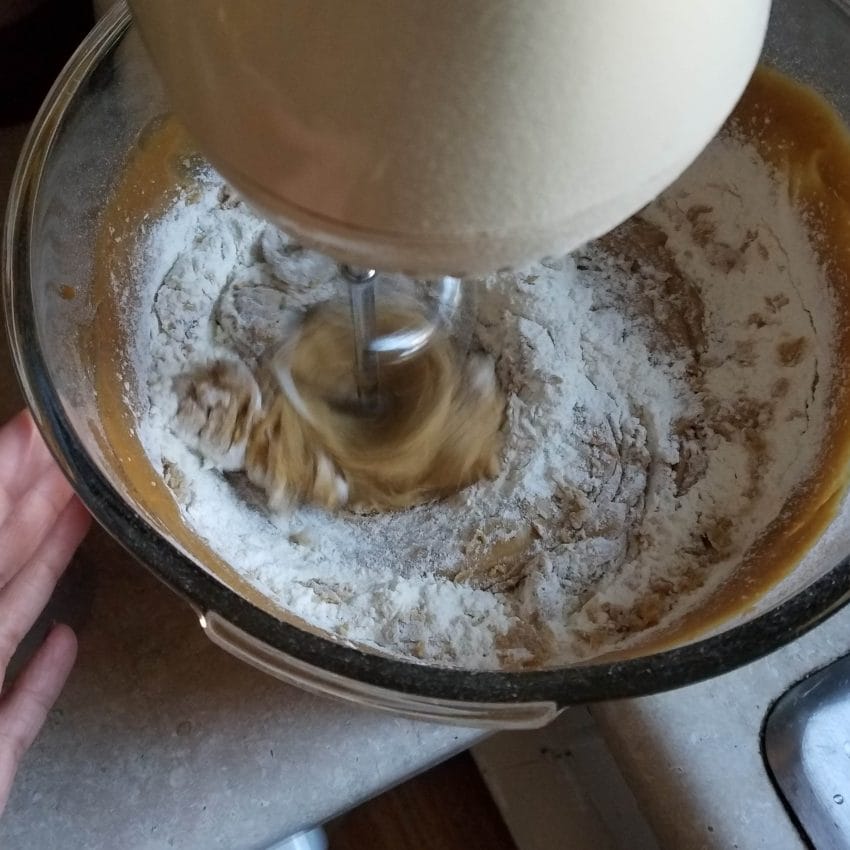
Your first step will be to add your pumpkin, peanut butter, and eggs to your mixer. The recipe encourages you to use a paddle on your mixer, but I don’t have a paddle attachment, so I used the one it came with. It was fine, but I did end up mixing everything with a spoon. After that, you slowly add your flour to the mixture, about a cup at a time. You may need to add a little more flour if your mixture is too sticky.
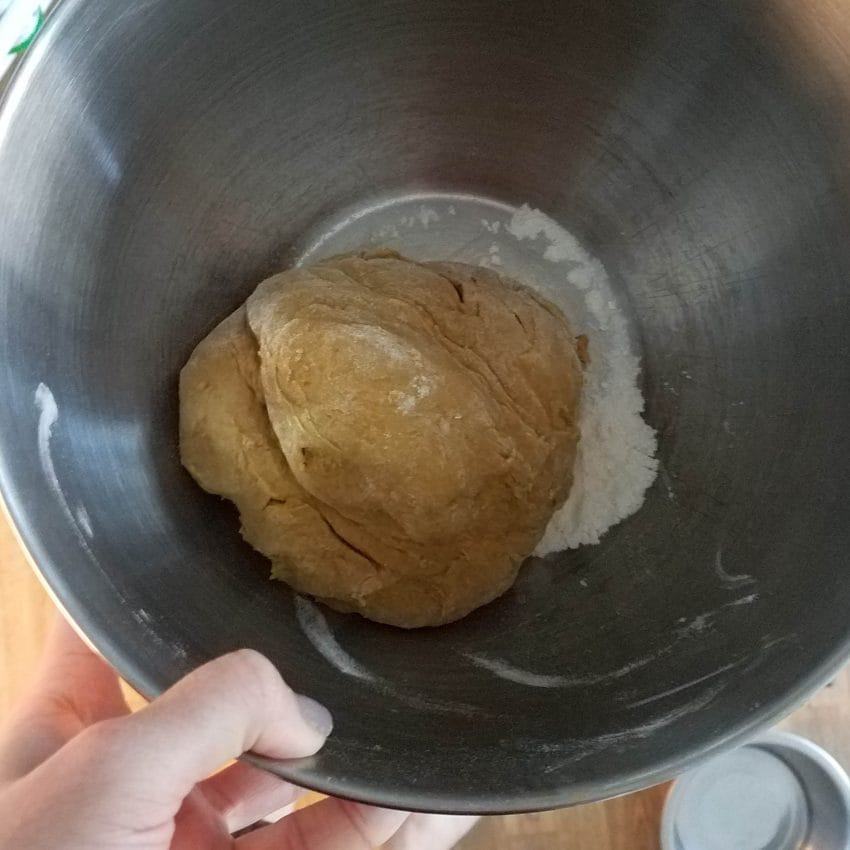
Here’s the crucial step that will help keep both your dog treats and your human cookies looking lovely: After you’ve mixed your dough, pop it into the fridge for about an hour and let it cool before you roll it out. I just tossed a little flour into the bottom of the bowl to keep it from sticking, and it worked. Go ahead and preheat your oven to 350 degrees F about 10 minutes before you get the dough out of the fridge.

Once the hour is up, pull the bowl out of the fridge. Roll out your dough until it’s about ¼ inch thick, and then cut out your shapes. I alternated between using my roller (with flour rubbed on) and my hands to get the dough to the thickness I preferred. Once you’ve cut out your shapes, put them onto a plate and then put those back into the fridge for another five minutes.
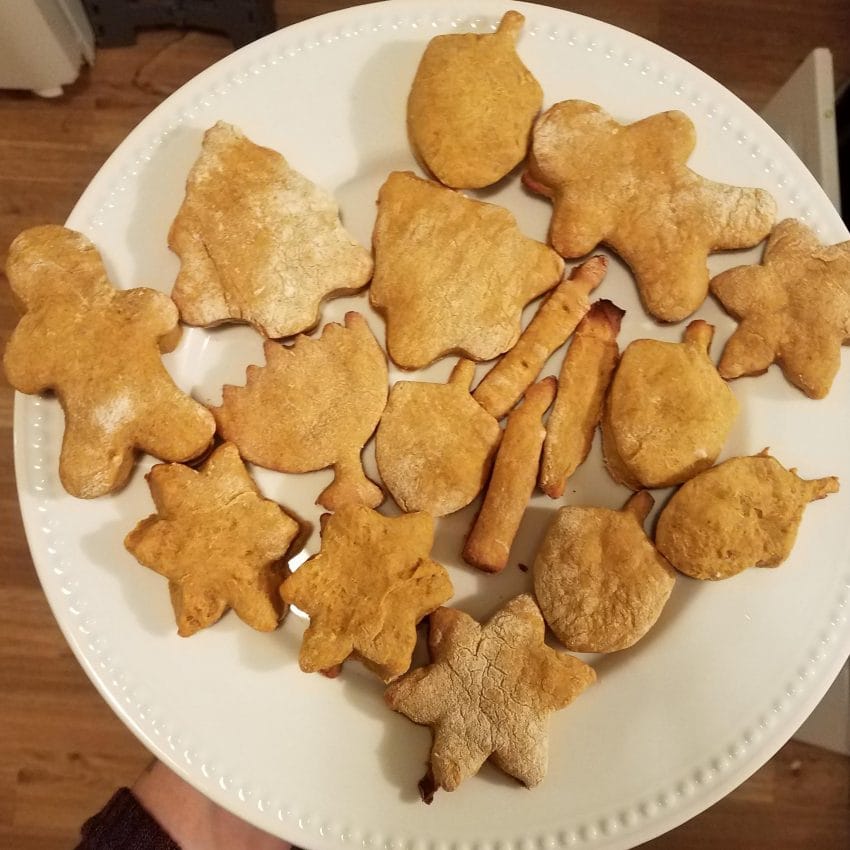
Once the dough is finished cooling the second time, go ahead and arrange your treats on a baking pan and let them cook for 20 minutes, or until they’re golden brown. It can be tough to really know when that is, since the dough is pretty golden-brown anyway … but 20 minutes (or so!) should do the trick.
After that, let your treats cool completely, and then share them with your dogs!
Source: littlethings
Leave a reply